Introduction: There are many ready-made pinatas on the market. They are mostly Unicorns, Cars, cakes,... and mostly they are made quite roughly and finished with that thin crumpled paper in various colors. They are not very attractive to me personally, especially since I know it can be done better. There is no greater happiness than the sparkle in a child's eye when he sees a piñata that matches the theme of the birthday (and which he did not expect even in his wildest dreams). With this text, I will try to introduce you to the magic of making your own piñata. I will provide you with step-by-step instructions with useful tips to create an original and unforgettable birthday experience
- Materials preparation
- To make a piñata, you will need large amounts of old newspapers, napkins, paper towels, a larger balloon or more that will serve as a base, liquid glue for paper (I used Drvofix and those liquid glues from various hobby art stores (Tedi has a good offer, ps. they don't pay me for advertising, it's just info so you don't wander around unnecessarily 😉 )
- You will also need colors for the final coloring of the piñata. Temperas are perfectly fine, but so are acrylic paints (they come in larger packages). How many colors will be needed and which ones, depends on the size of the finished piñata, or the motif you have chosen. Sometimes I painted the piñatas with spray paints (those for metal or wood) because it is much faster and the piñata is stronger. It should be kept in mind that oil-based paints smell a lot, so it is better to paint outdoors, unlike tempera and acrylic paints (even water-based sprays), which can be used indoors.
2. Choice of design
- The choice of piñata design or motif will depend on the theme of the birthday.
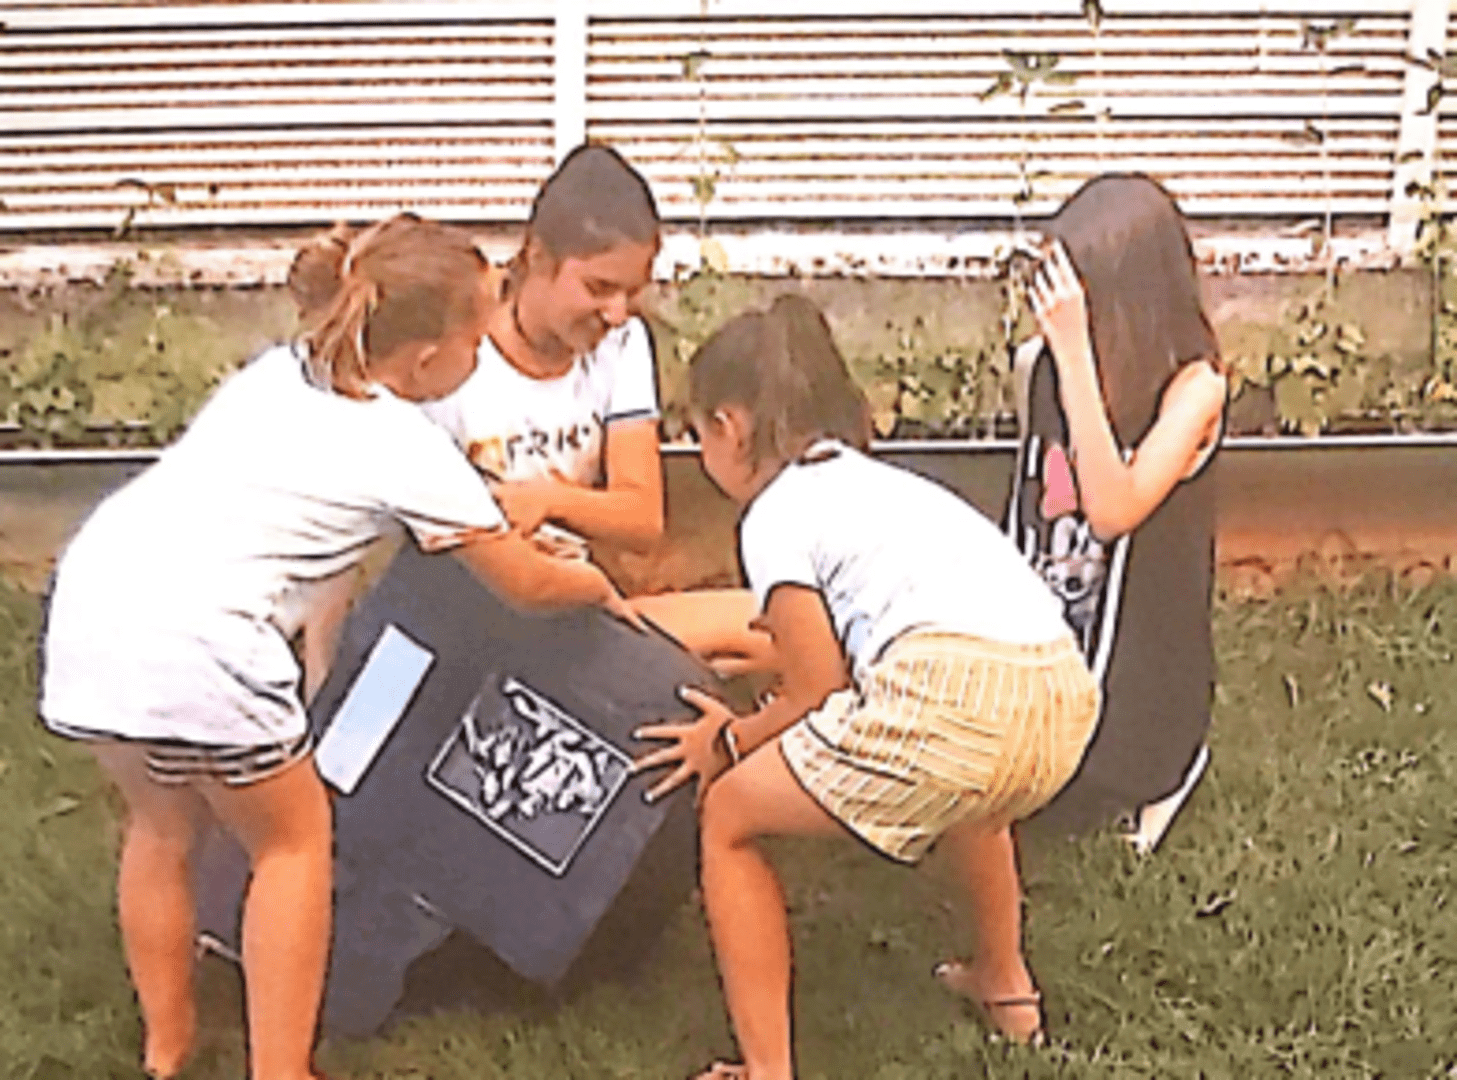
- One year, my daughter was mesmerized by the series Friends, so the piñata was a television set with one scene on the screen. My base was a larger box, so it was relatively easy to glue several layers of paper and spray paint everything black. Here I had a problem that the piñata would not turn out too hard.

- One year, the son had a Star Wars themed birthday. I made a piñata in the shape of Yoda's head. I'm sorry I couldn't find any photos. She would fit perfectly in this blog. The base was a huge balloon. I painted the outside with olive green spray paint because, of course, I was working at the last minute (and to make the piñata more solid). I used a tow for the hair.
- Basically, while they were growing up, I made a whole series of piñatas, and mostly at the last minute ("because they won't do anything", so a day or two before the actual celebration, "they would anyway", and that was something specific), but I don't regret it and I would do everything repeated.
3. Step-by-step instructions:
- This production by gluing layers of paper is called lamination. It is glued layer by layer to a substrate. A mixture of flour and water can also be used as glue (so that it is nicely viscous without lumps and can be spread), but it must be able to dry quickly, otherwise it can stink.
- mainly used balloons of various sizes and shapes, which I would glue into the desired shape with duct tape. I used balloons of different sizes (for the head and for the body) to make the flamenco. A broom handle was used for the neck.
- After roughly defining the shape of the future piñata, you start gluing the newsprint. I always use newsprint in the beginning because it won't show anyway, and you need a lot of it. Catalogs can also be used, but they are made of harder paper, so they will need more glue.
- So, you put the newspaper (torn into smaller pieces of approx. 5x5 cm, mine were always of different sizes and shapes) next to each other and cover with glue. They should partially cover the edges. It is important to make one whole layer at once. If you only do it partially, the balloon will shrivel up and lose its shape. You add pieces of paper where there are bigger bumps.
- In this process, you will be completely covered (and not only yourself), so it is better if you put on an old wardrobe and protect the surfaces you are working on.
- When you finish with the first layer, you leave it to dry for a while. It is best that as small a surface as possible of the future piñata rests somewhere so that it does not lose its shape. I knew how to hang it - because the piñata usually hangs either from a chandelier ;), a tree, the ceiling, while the children mercilessly try to pierce it, knock it down, etc. You can put it on a glass or a larger bowl with a thin edge so that it is in contact with as little surface as possible, so that it dries faster and has less chance of warping.
- If your piñata is going to hang, I suggest that you glue the twine to the balloon before you start gluing the newspaper, always keeping in mind that it should stay on the outside. You can also leave a small slit at the top (but far enough from the twine) (which will not endanger the whole structure) through which you will insert smaller toys and sweets that will fall out when the children break the piñata. The lighter the objects, the longer the piñata will last and you will have to glue fewer layers. You will insert these things later.
- When one layer dries, you start applying the second, third, fourth...
- When you decide that the piñata is strong enough, glue the last layer of paper towels, toilet paper, napkins to make it as bright as possible and easier to paint (this is not necessary, especially if you will paint with dark colors or auto lacquer), but it can save some tempera or acrylic paint because they usually have to be applied in several layers. Before each next layer, it needs to dry, and then it can take a long time.
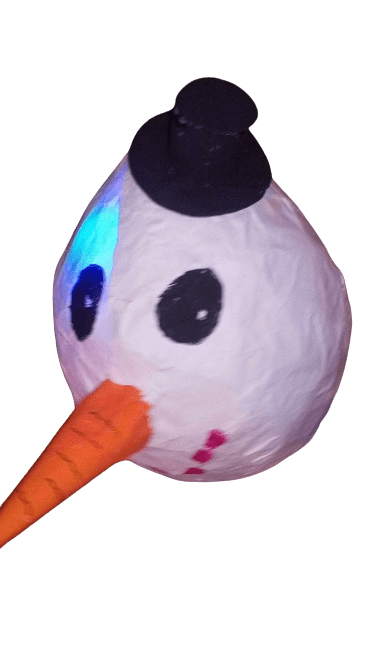
- It is interesting that you can easily shape your eyebrows and nose with these paper towels. Ping pong balls or eggshells can be used for the eyes. Also glue the paper around them in layers so that they stay firmly on the piñata.
4. Additional tips for success:
- It is important to glue layer by layer of newspaper and glue the whole balloon at once. I would add a piece of newspaper and use a brush to coat it with Drvofix in a thicker layer on the upper side (part of the glue goes through the newspaper to the balloon) and stick the next one and so on the whole circle. It never happened to me that the balloon burst, but it used to shrink. That's why it's important to complete that first layer at once.
- 3, 4 layers of paper are glued until the desired strength and depending on what you will color the piñata with. Tempera and acrylic paints will additionally wet the piñata, so you should take care of that as well. You can also put several layers of paper. everything depends on the time available to you (I never had enough of it).
- It is advisable to put sweets and gifts in the piñata before the last layer of paper and before coloring, because then it will be strong enough, without having to drill the pinata afterwards. Usually the balloon deflates and shrinks. If it doesn't, you'll puncture it. It will drop out along with the candy when the kids break the piñata.
5. Termination
I invite you to play, to enjoy the creation of real little masterpieces. In my opinion, it's always better to make something because that making is also a gift, a gift to a kid because "no one has had such a piñata", a gift to guests (because there is always a fight over sweets and gifts, and then an exchange because everyone likes something different), and primarily to yourself because you always remember it with some warmth around your heart.
Feel free to brag. Maybe I'll steal your idea. 😉
Maybe you can include the kids too. I included mine in other projects. I always had too little time for pinatas, so I used them when they were in kindergarten or school or already asleep, so I could surprise them with the finished product.
Conclusion: It's always nice to do something, and when that something brings a lot of joy to the celebration itself, it's something priceless. Play, don't grow up. Don't be critical. No one sees those small bumps. The most important thing is the process. It's the easiest to buy (often the cheapest), but it's never that for me. When you created, you gave yourself, your time and your will, and that's what makes the difference.
Hej Ivana, super objašnjeno! Napravila sam prvu pinjatu sa djecom i ne samo da je ispala odlično nego su se klinci zabavljali i izrađujući je, a ne samo kod razbijanja. Trebalo nam je dosta vremena i strpljenja (djeca su se uključivala u nekim momentima i odustajala u drugim) i završni proizvod nije ispao savršeno ali smo mi jako zadovoljni sa našom bubamarom i već smišljamo što ćemo raditi slijedeće i koji rođendan nam dolazi. 🙂
Baš mi je drago! Uživajte u kreativnom izražavanju! I pratite. S vremenom ću sigurno podijeliti još ideja i tehnika.